
As we saw in part 1, I am something of an idiot. Also, I like building stuff. Usually that stuff is software or technological gubbins, but I do like to create abominations of wood and screws sometimes. And so, to the rack.
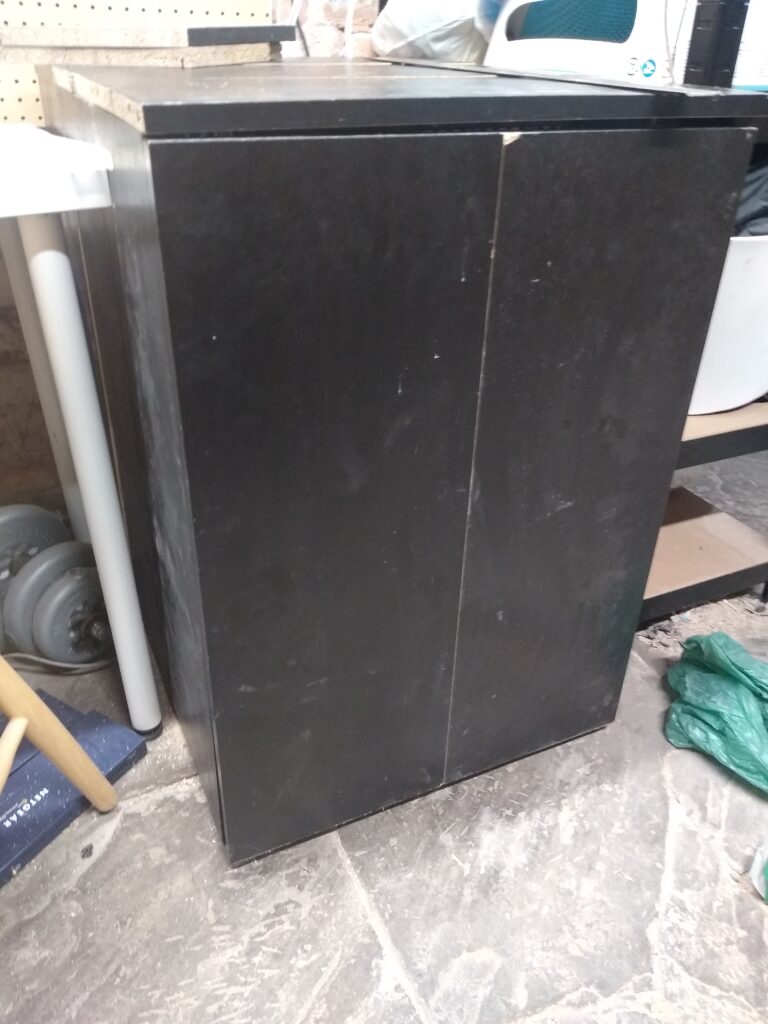
We left part one with me pondering the feasibility of building a high tech, noise supressing, mobile server rack out of this:
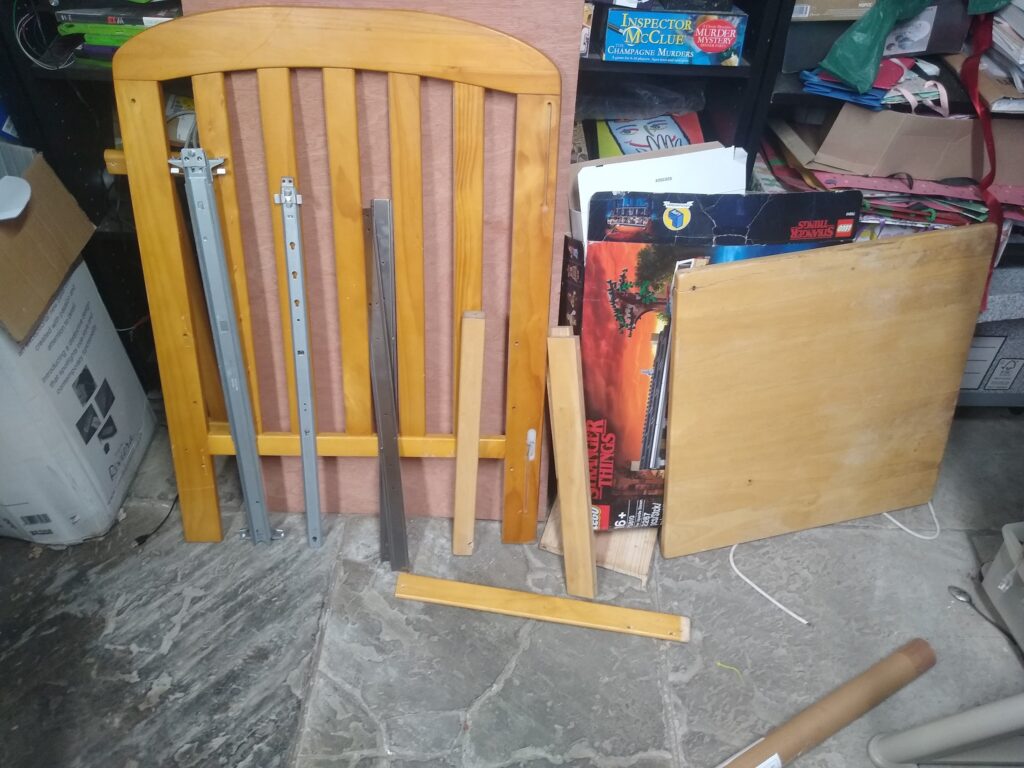
Nope, still not the lego. That’s already spoken for. Note the pieces of a baby’s cot (baby previously removed) and a coffee table. Also the ikea bookcases in the background (they’ll be important later). That’s probably enough stuff to build the frame of a server rack out of right? Then I just need to worry about actually mounting servers in the thing…..
If you google ‘diy server rack’ there’s loads of really well done, thoughtfully designed plans for building your own. Unfortunately most of those require two things: Patience and skill. Since I have neither of those things, I decided to just muddle through with pigheadedness and ignorance. First off I found out you can pick up ‘rack strips’ on ebay pretty cheaply. Like these for example. Since all rackmount equipment is built to the same dimensions (note, the depth can vary, this catches me out later) all you need to do is make sure you mount those strips the appropriate distance apart and job’s a good un right?

Since servers weigh a substantial amount, you should probably spend some time here working out how to support that load properly if you’re going to do this yourself. I, of course, just decided to go for it. After buying the appropriate toys. Er tools.
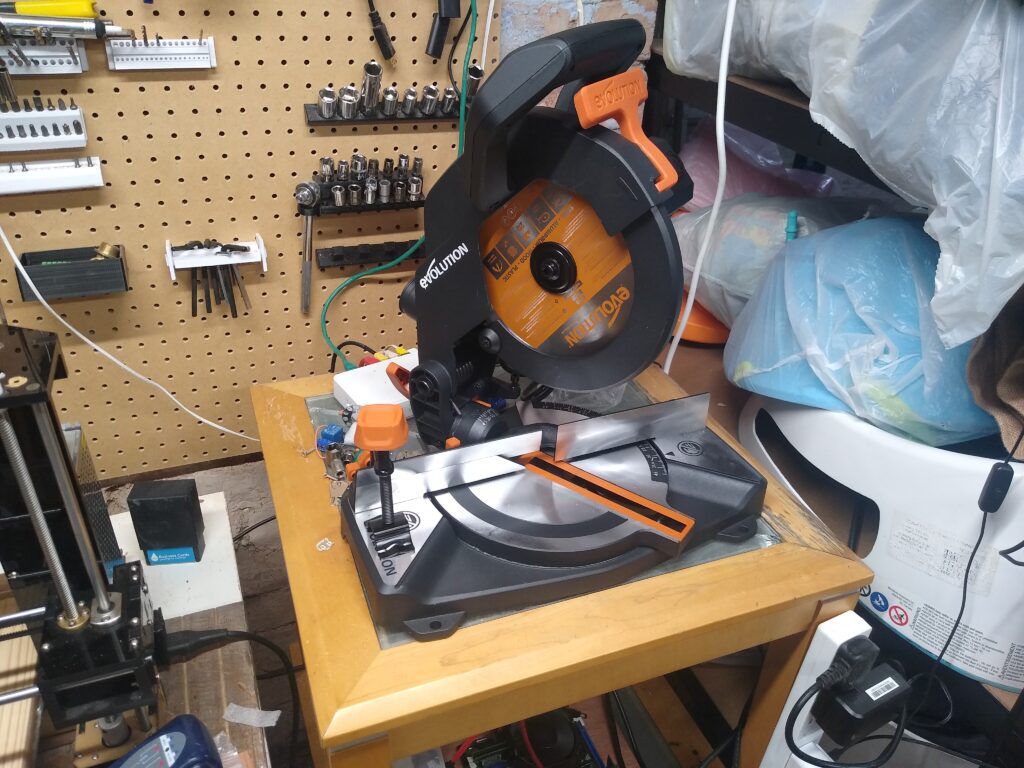
Not a toy. Honest.
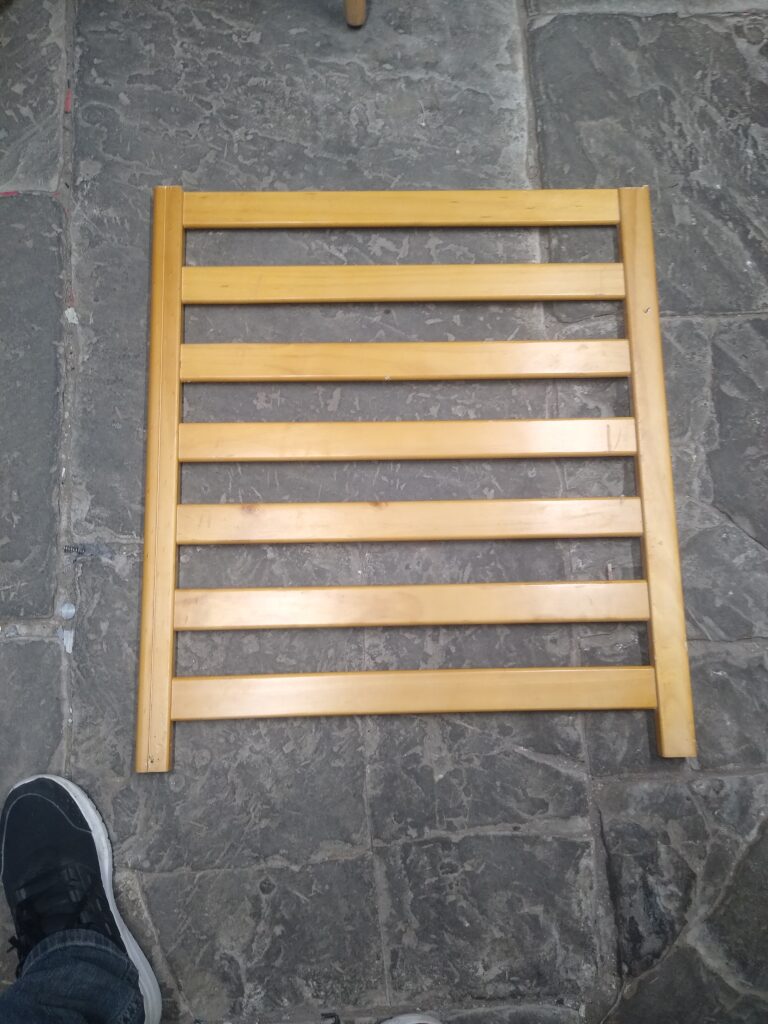
In the interests of prudence I did buy some of these to reinforce the corners with though. I decided to go with table legs for the cross beams that would support the sides and take most of the weight (you can see one of them in that picture, they’re basically 4cm * 4cm solid wood beams). For the sides I had two sections from the crib that were almost exactly the right size.
DL380 for scale
and for the other bits (corner joists maybe?) well, refer back to my ‘ignorance and pigheadedness’ statement. I’d figure it out as I went along. My first thought for fixing all this together was my trusty 3D printer. I got as far as designing and printing some pieces that would sit in between the crossbeams and the side sections, holding them together securely. Like this:
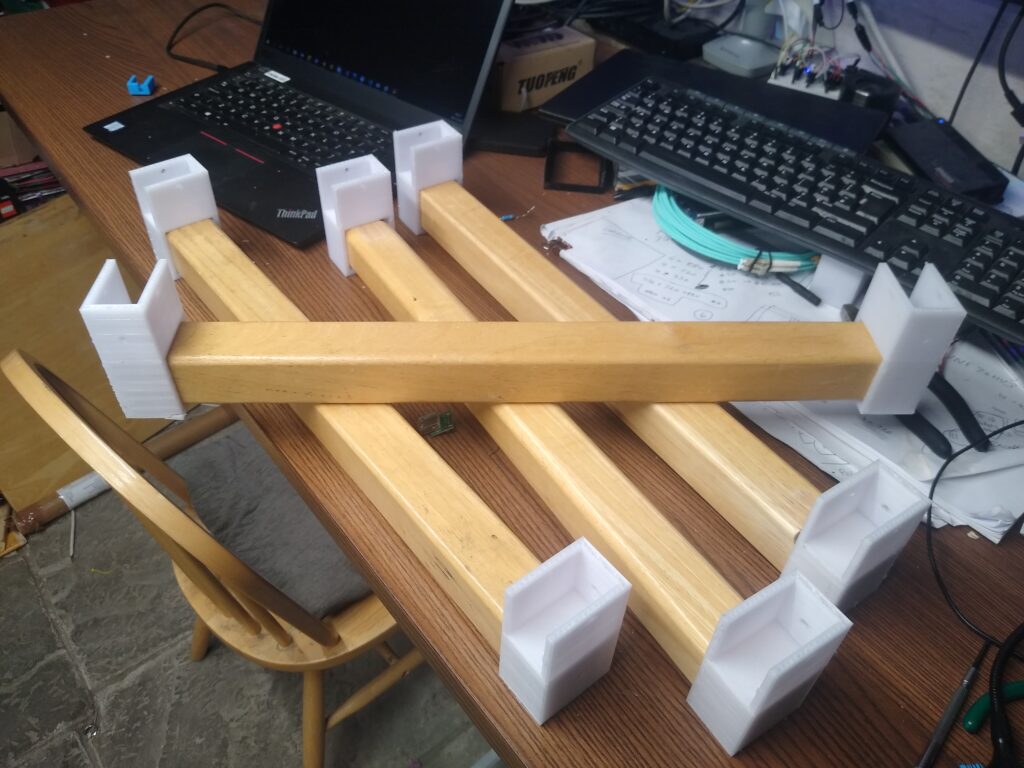
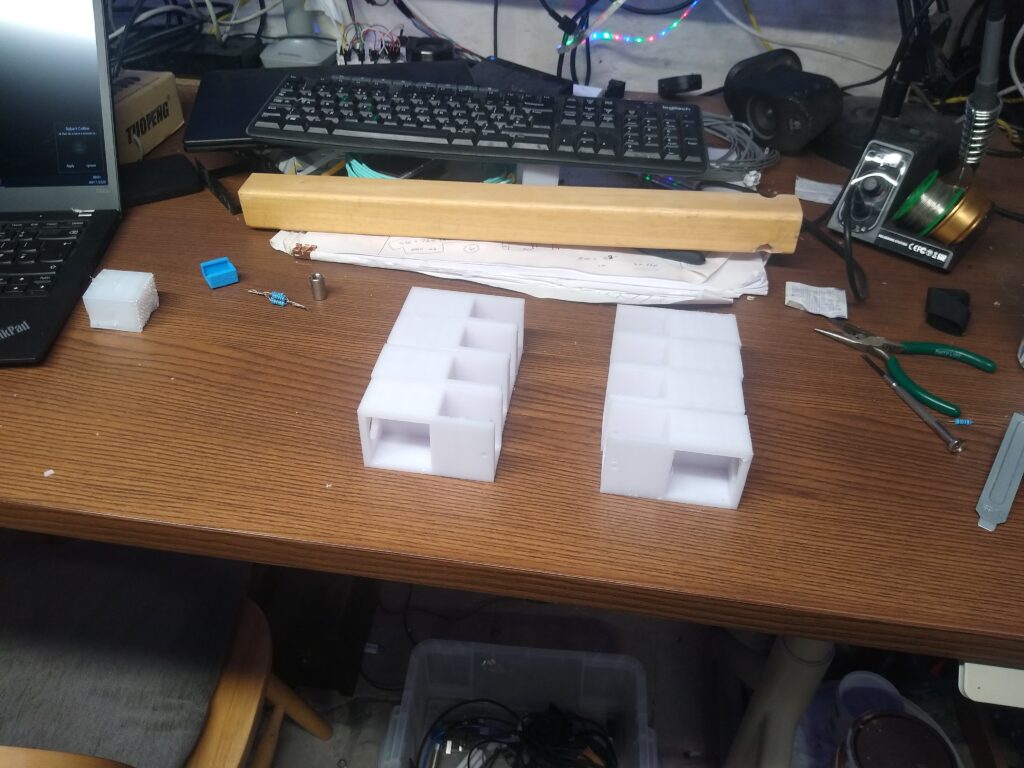
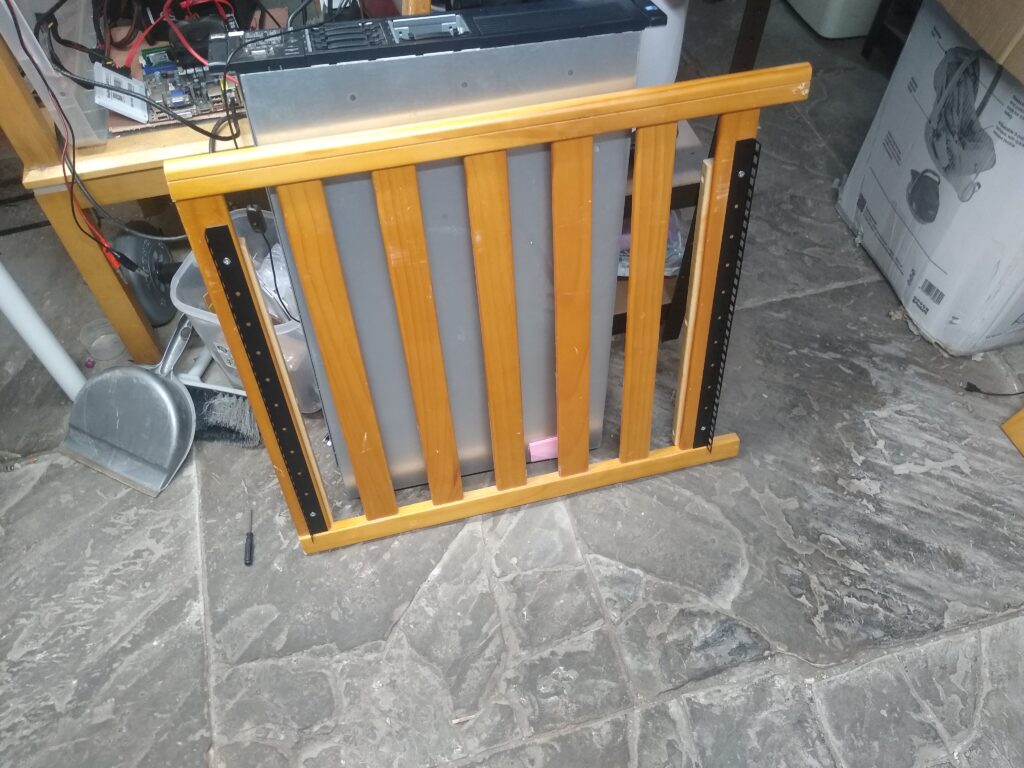
The plan was to sit the side pieces in those slots, screw the plastic bits to the wood and you know, it would all be fine. Unfortunately printed plastic parts aren’t really up to supporting a metric buttload of weight so I had a rethink and went with a method I like to call ‘just stick loads of screws in until it feels secure. which lead to my intial build looking something like this (oh, I also put castors on the bottom of the cross beams, so it could move)
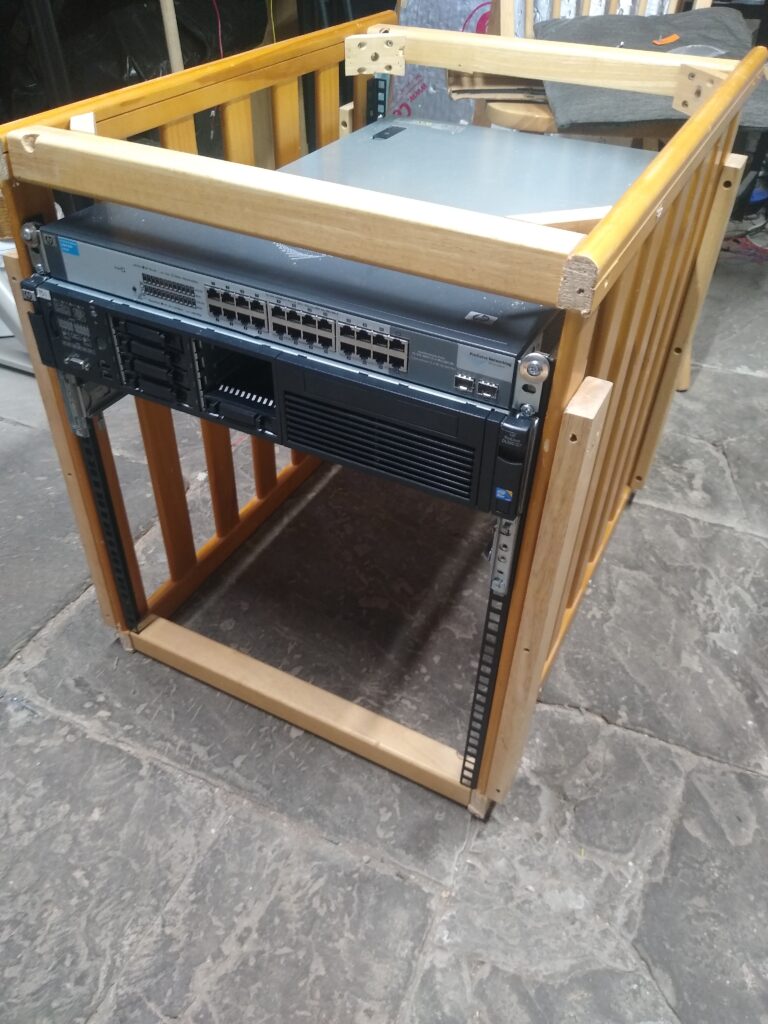
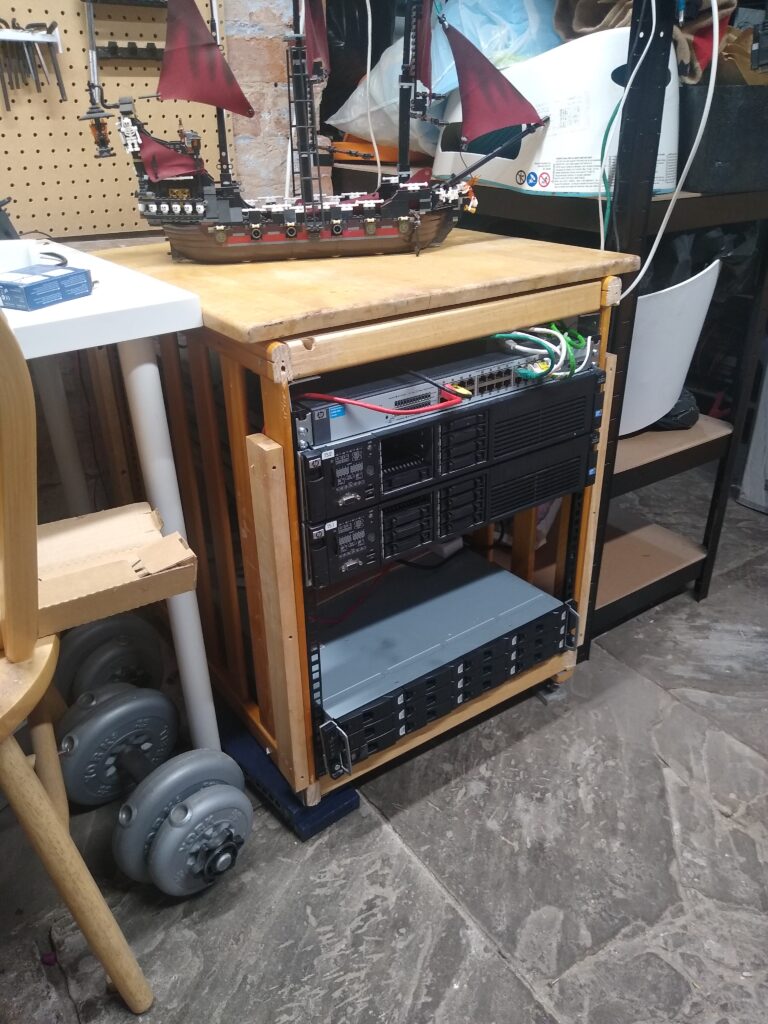
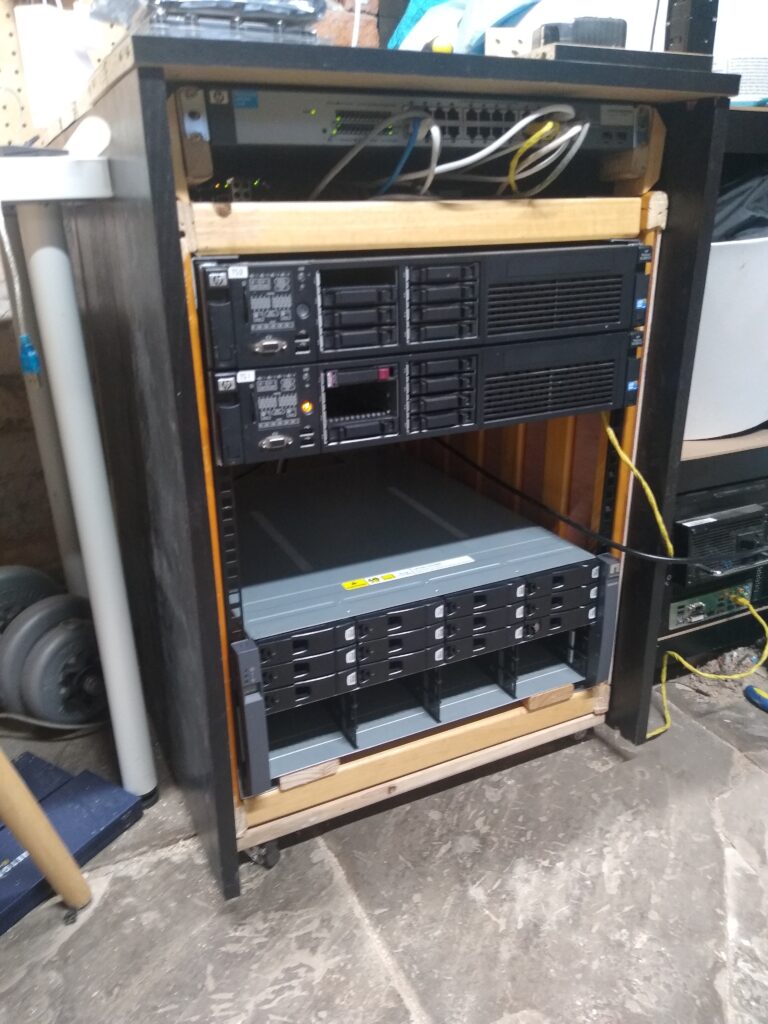
Now, this wasn’t actually bad for an MVP. Servers fit in it, it feels pretty secure. See how I left a gap at the top for cable management? Pretty nifty right? See how the rack rails are flush against the bottom cross beam? Also see how I don’t have any rails for the storage enclosure so it has to sit on the bottom of the rack? You can’t really see from the pictures, but that meant I had to put a ‘floor’ in, just some beams running front to back to support the enclosure. Those sit on top of the bottom cross beam, which means I lose about half a U of usable space. Another issue I had here was the castors. You might notice that the front left corner is sat on a couple of old network switches (don’t worry, they were already dead). That’s because the castor on that corner levered itself out of the wood when I was moving it. v2 would have metal threaded inserts for the castors to screw into. Also, I wasn’t keen on the general look of it, and it really didn’t cut down any of the noise from the servers, being open sided.
Remember that bookcase from earlier?
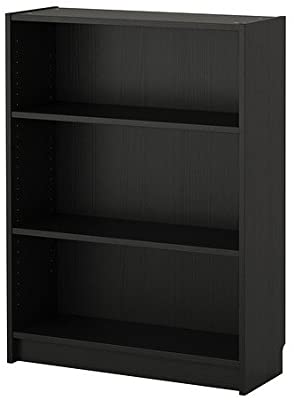
The amazing Billy Bookcase
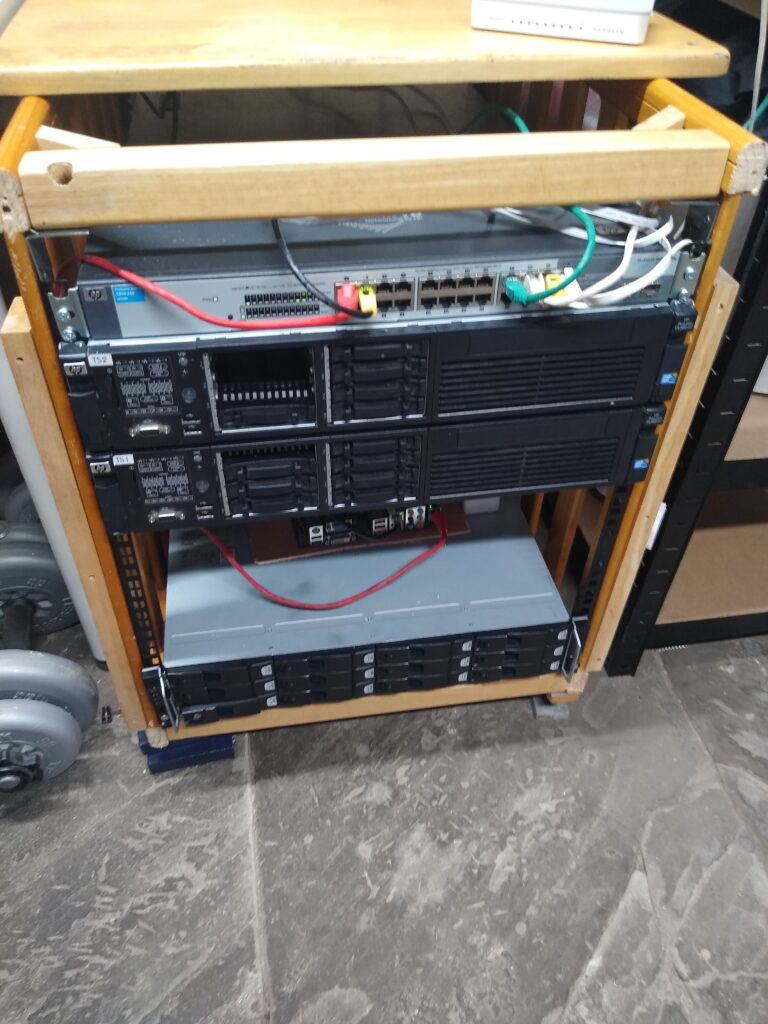
It turns out that the width of the shelves is almost exactly the same as the height of my Rack, plus a bit extra to fit a couple of U above the cross beam for my switch. So, I moved the rack strips up so they’re flush against the top beam. I added another set of 2U strips above the beam. I added threaded inserts for the castors and….. v2!
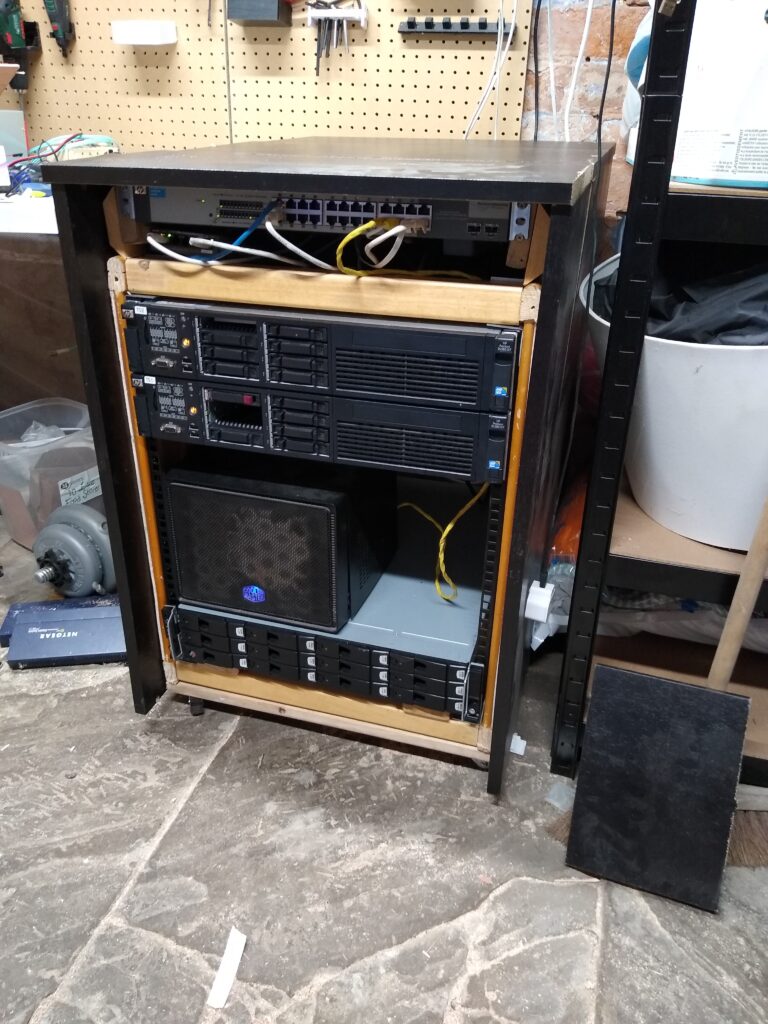
handy little cubby hole on top 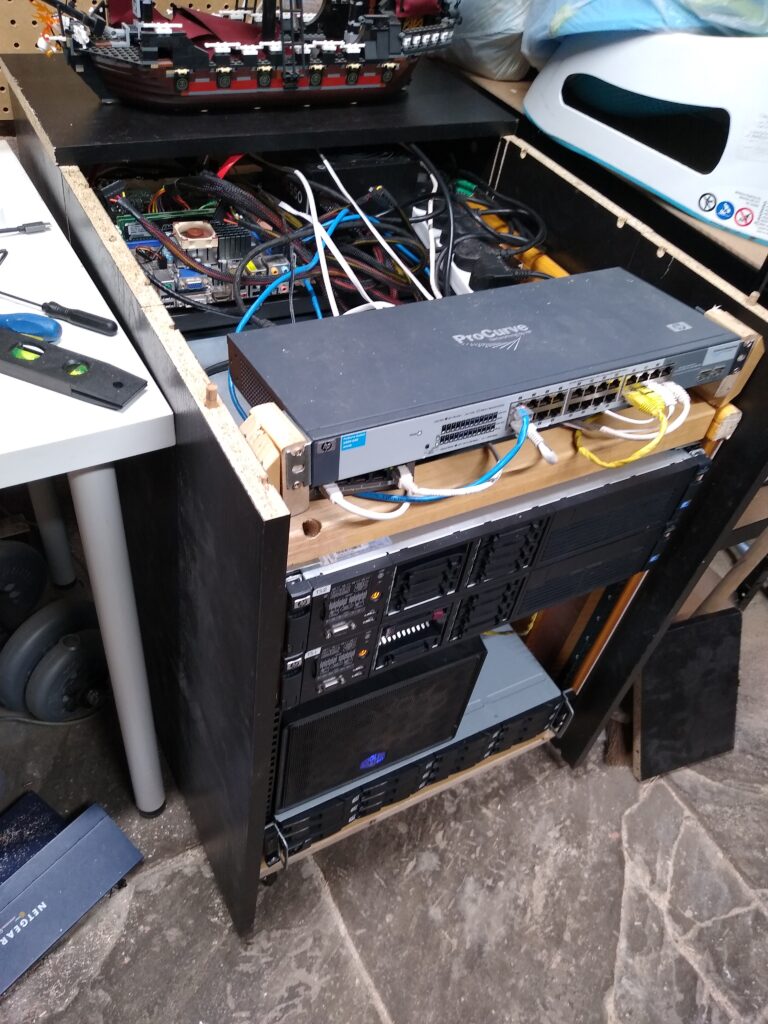
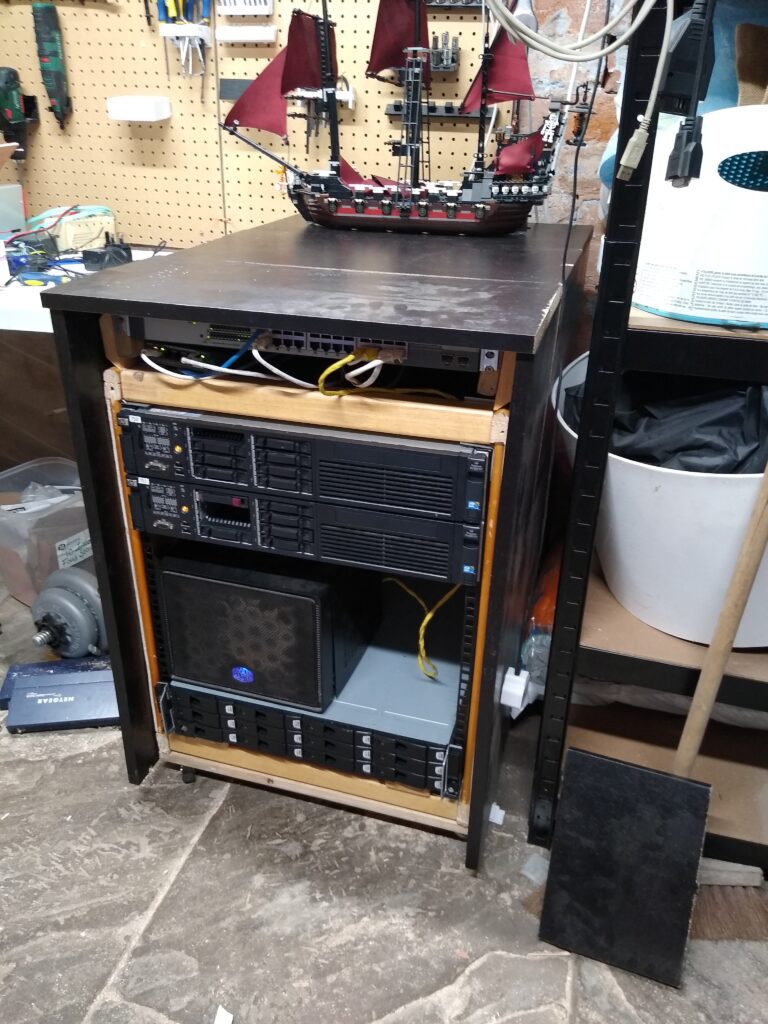
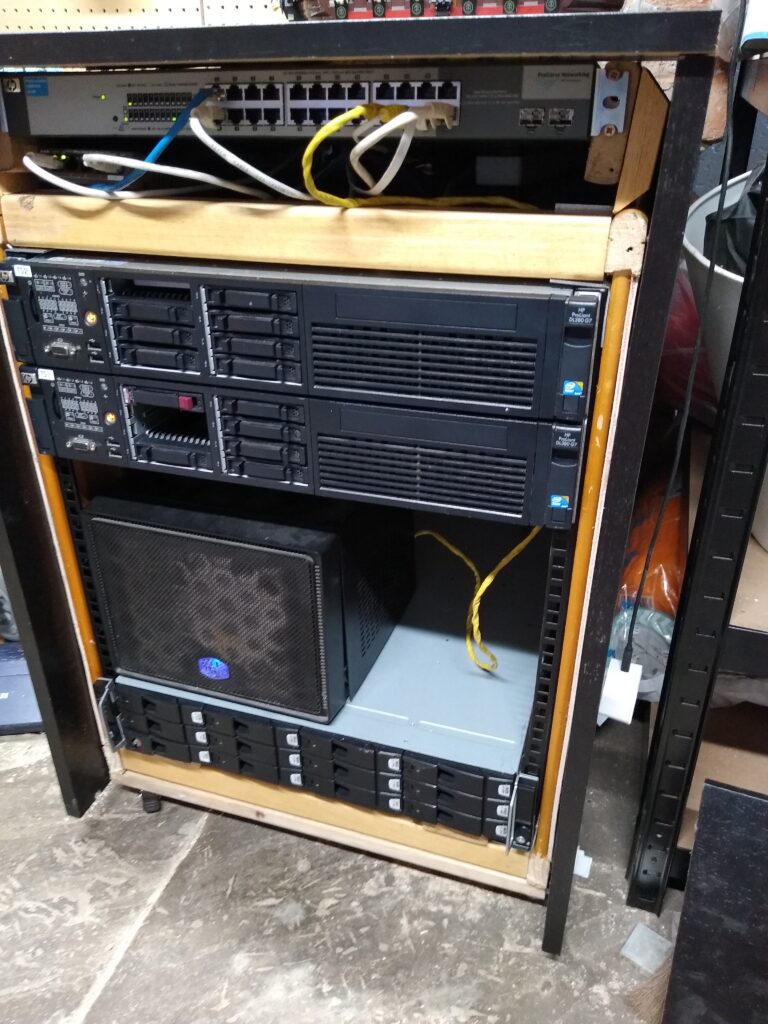
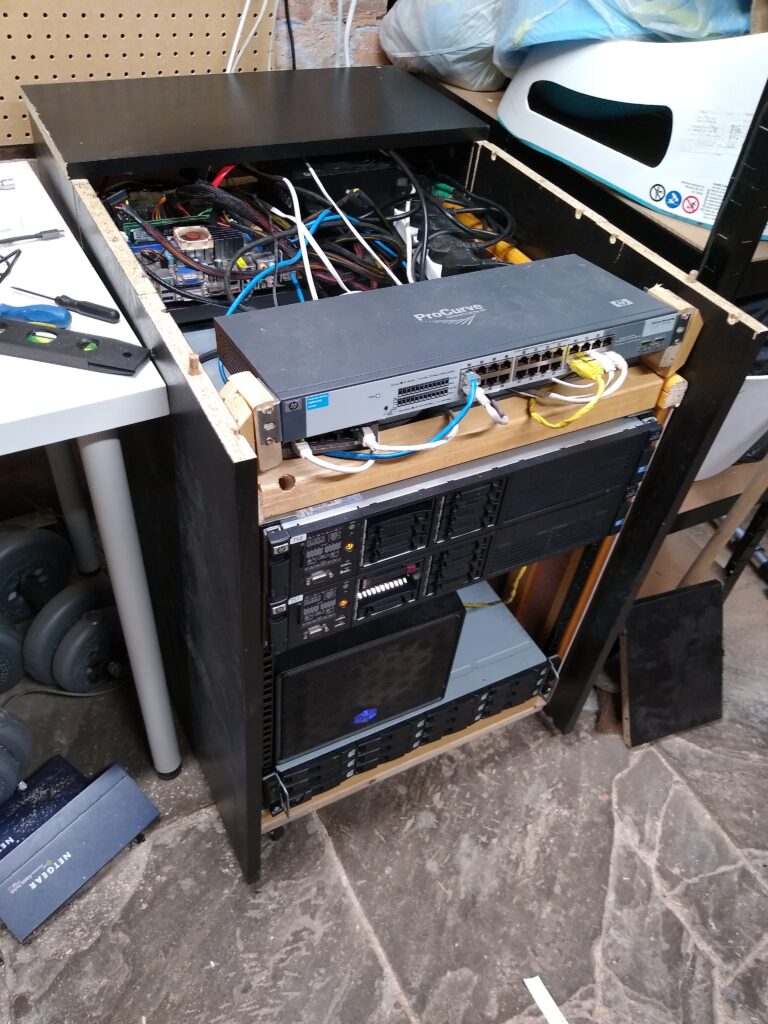
You’ll notice in that last picture I have replaced the 2U fibre storage array with the 4u netapp array. Yeah, I wrote about the hardware and rack build out of order to make it more ‘interesting’. Also note that Dell r810 hasn’t made an appearance yet. It does shortly, at which point I discover that Dell’s servers are significantly deeper than HPs. So, I had to rebuild the rear of the rack to accomodate another 10cm or so depth. Then I decided to build a door! I had some left over pieces of Bookcase, so v3 looked like this:
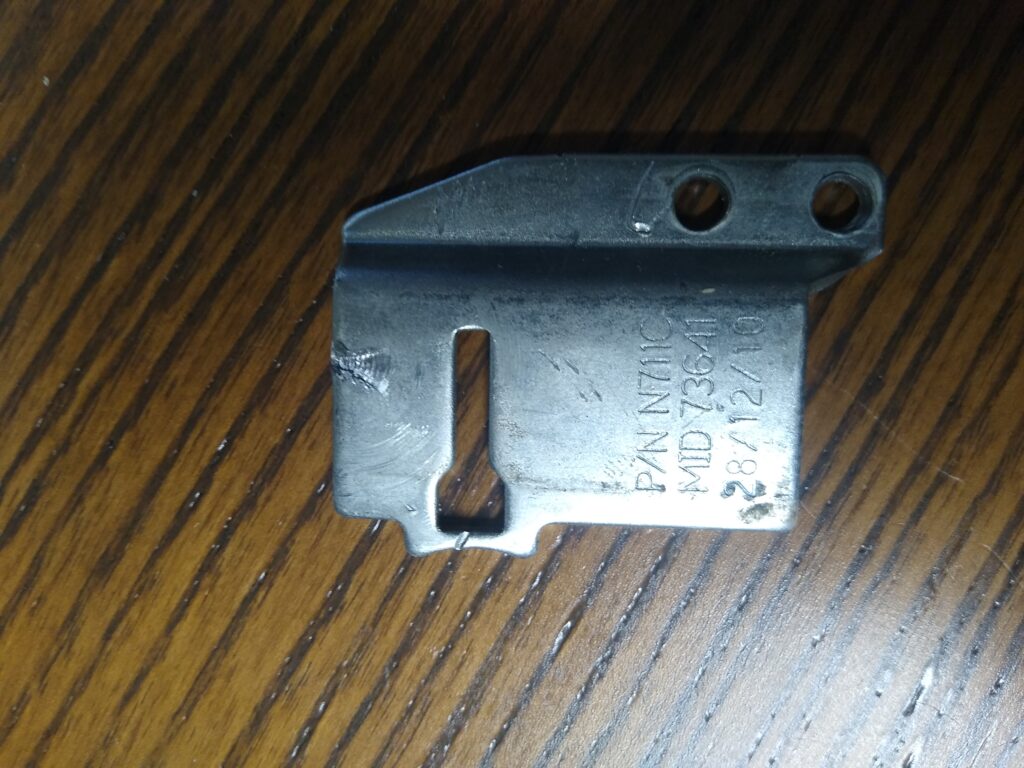
Here’s where I wish I didn’t do things when irritated, because I forget to take pictures. Basically, when the r810 arrived I grabbed some rails for it off ebay. Unfortunately, I got rails for the r710 not the r810. Now, the mouting points for those 2 servers are extremely similar, except that the 810 has a stud sticking out that doesn’t line up with one of the holes on the rails, and the rails for the 710 are slightly too short…. they have a rear piece rivited to the rail that means you can’t physically put the 810 in them.
Unless of course you dremel that piece off and unscrew the offending stud from the side of the 810. Or, discover you don’t have any cutting disks for your dremel, so drill out the rivits and then use a big screwdriver to prise the bit off amidst lots of cursing. Unfortunately the only picture I have of this entire process is one of the ‘rear bits’ after I cut it off. And I only have that becuase I sent it triumphantly to my long suffering girlfriend (who gave an unenthusiastic ‘yay’ in response).
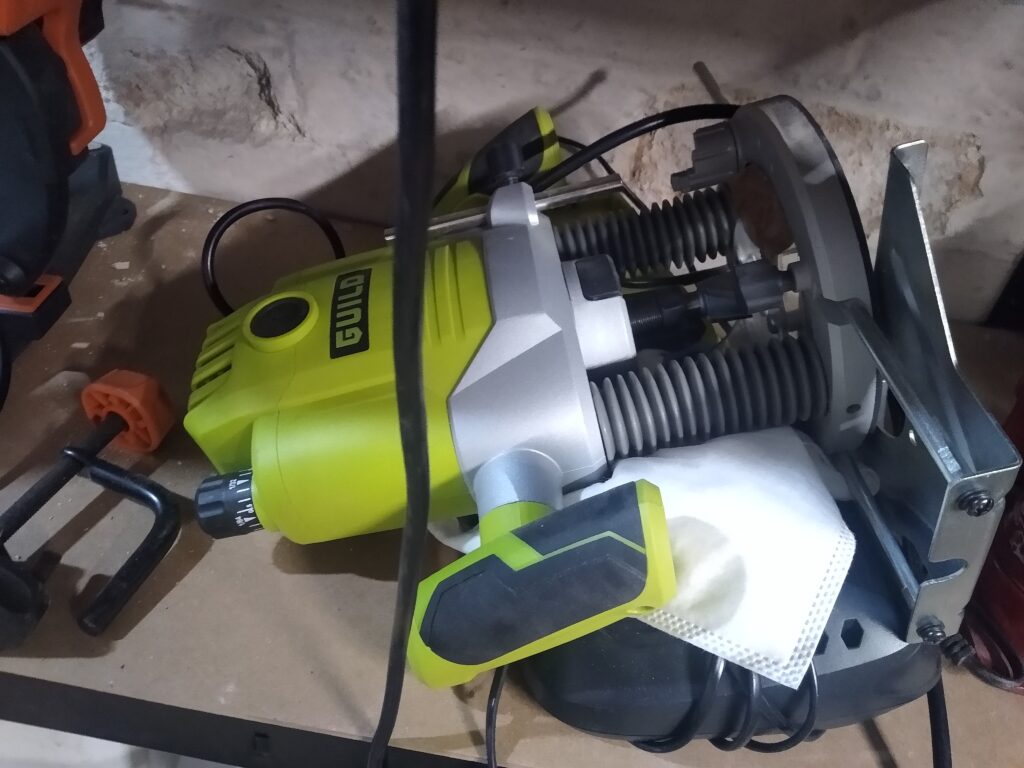
So, that was the 810 mounted. Now I got a little bit silly, and decided I wanted to see the servers humming away in the rack. Seeing them, but not hearing them meant glass. Double glazed glass for preference. I had no idea how to mount glass in wood, but I guess you can use a router to carve out a lip for the glass to sit on? that sounded reasonable, so I bought a router:
And hunted around on ebay until I found (this was incredibly lucky) someone selling 2 double glazed panels that were about the right size for the front of the rack:
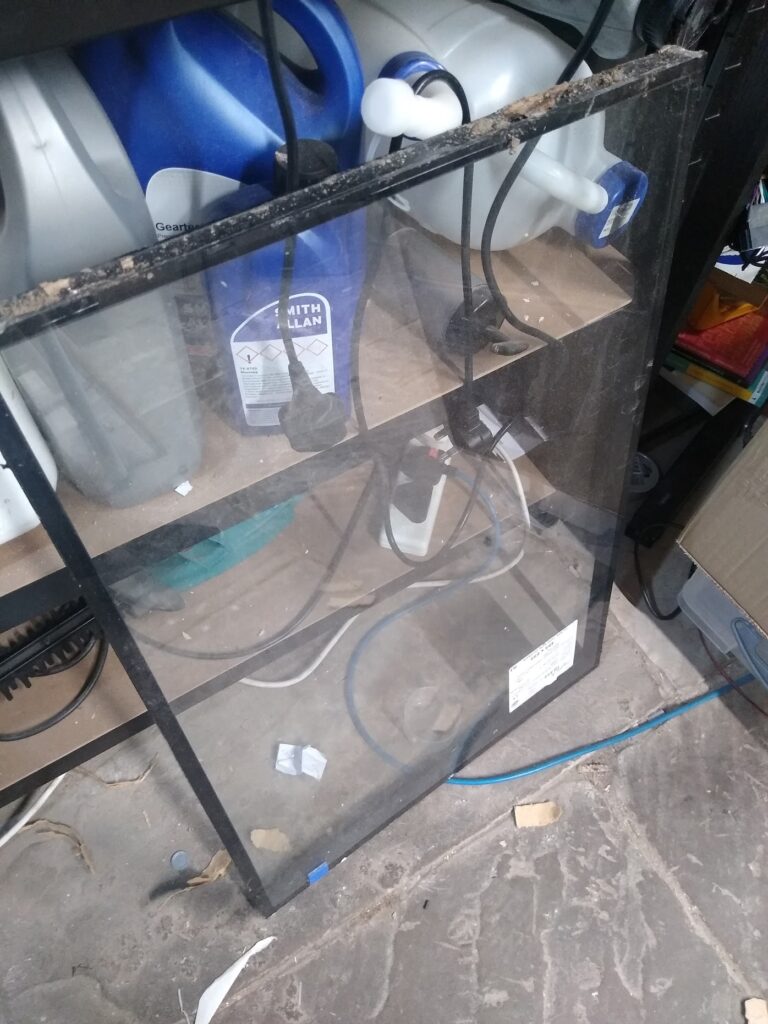
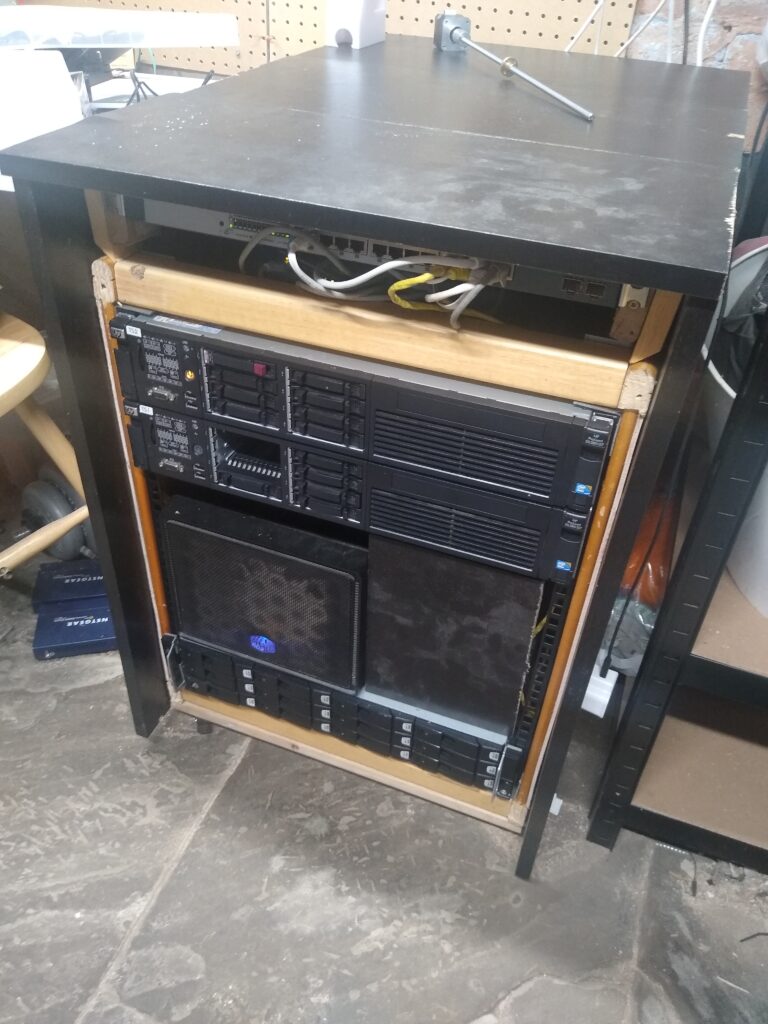
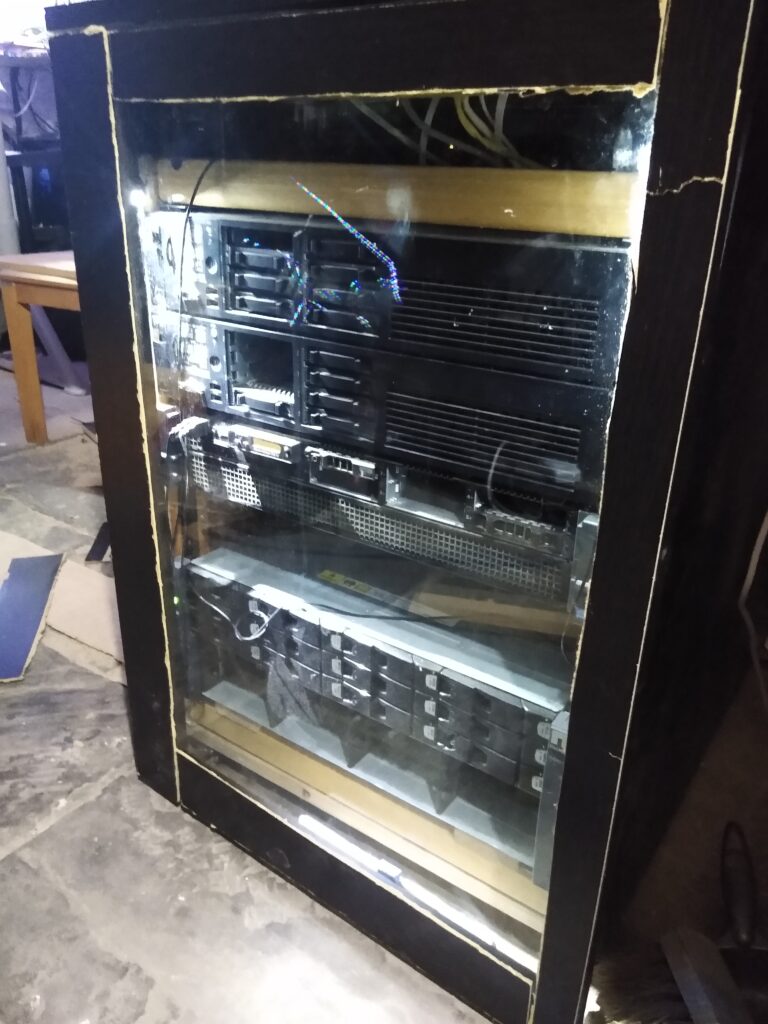
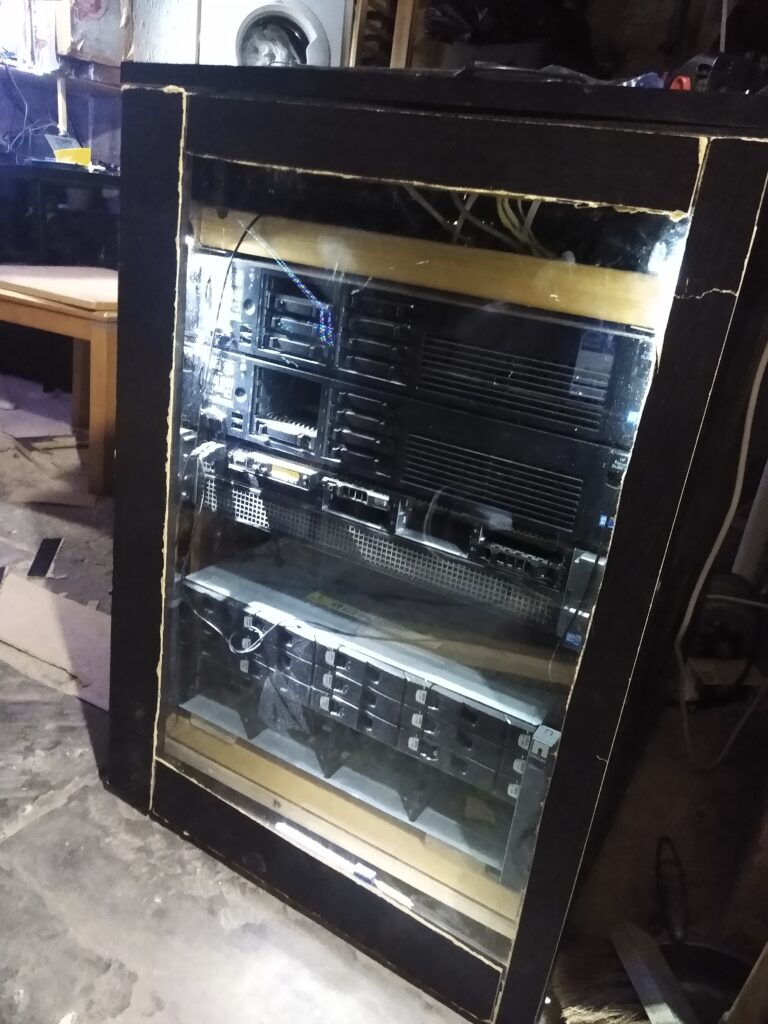
Just as a random piece of trivia, the edges of double glazing panels are sharp enough to quite easily take a layer of skin off your hand if you’re not careful. Ask me how I know. Anyway, once I’d finished bleeding and using more luck and outright stupidity, I managed to create this:
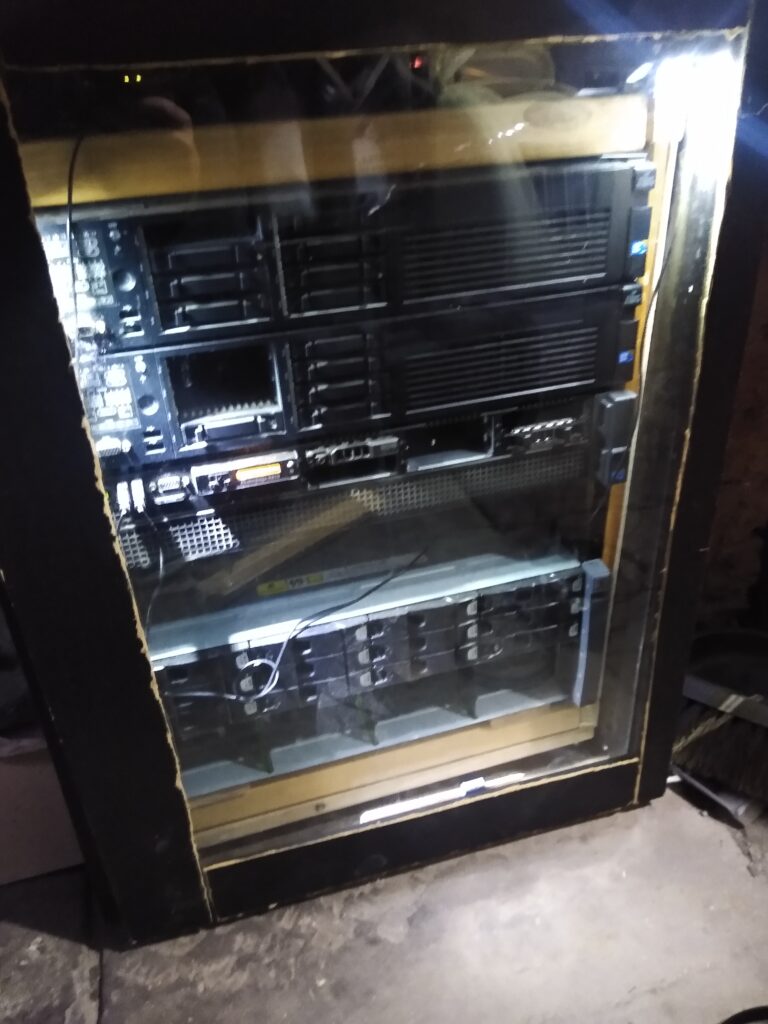
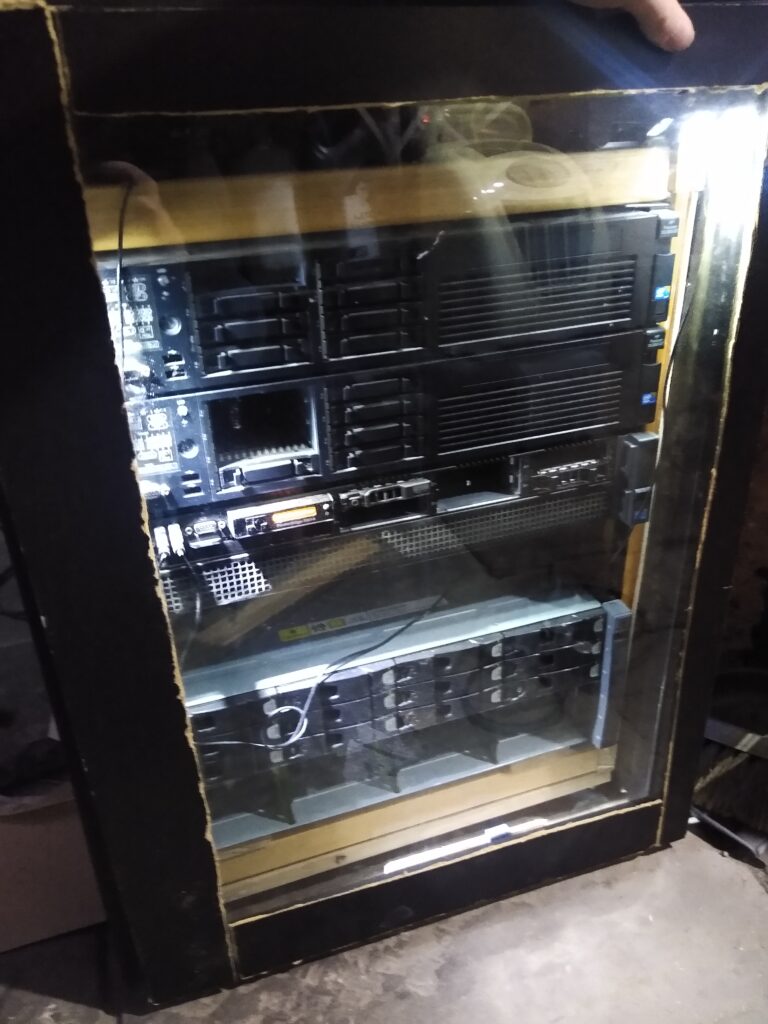

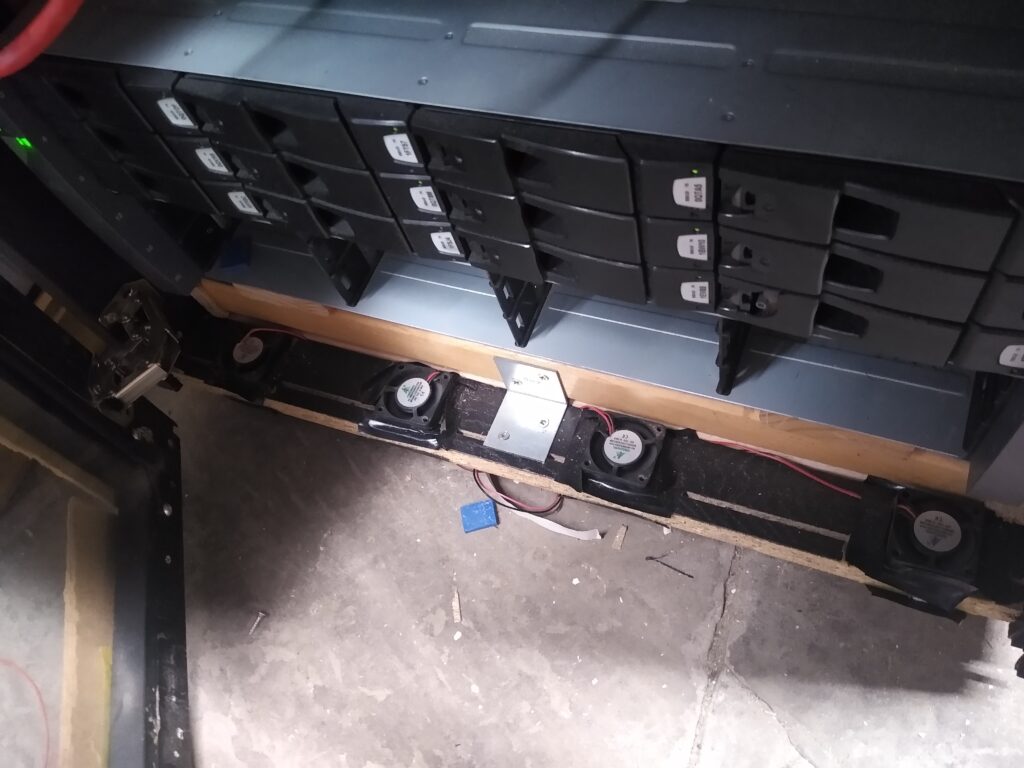
Oh, and then because I was worried about heat I added some intake fans at the bottom / front, and then some beefy fans in the top ‘cubby hole’ to keep air flowing there (those top fans are actually out of the xyrarek fibre array. If you run them at 5v they’re reasonably quiet while still moving a huge amount of air).

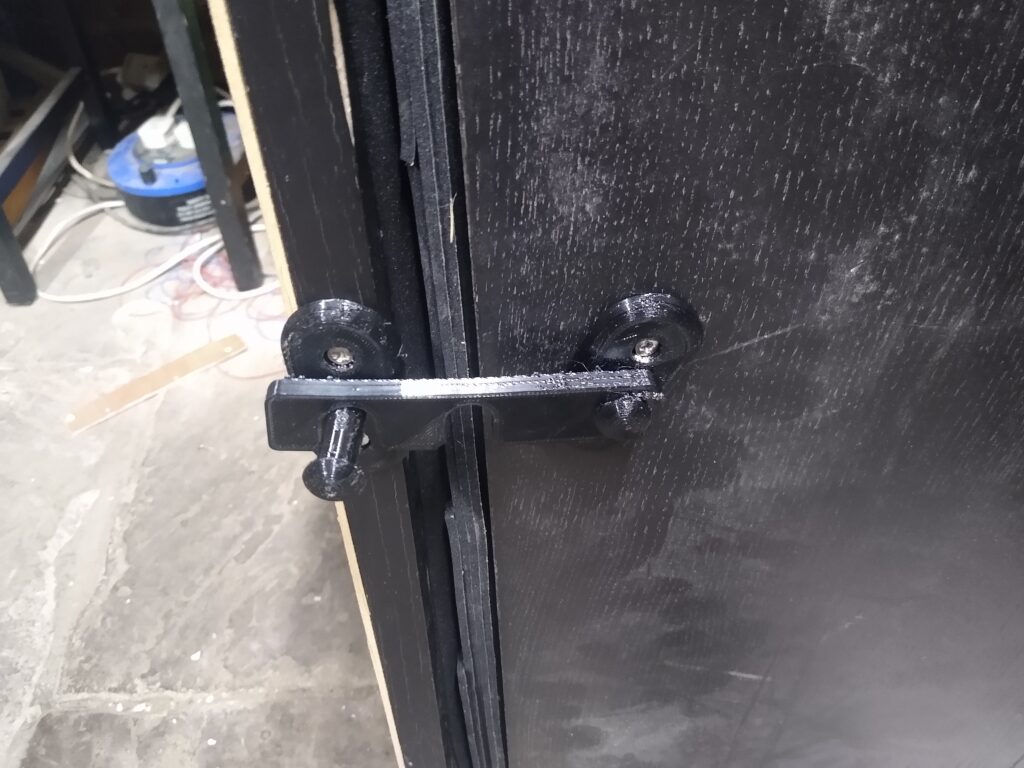
And finally a 3d printed catch to hold the door shut (because it’s actually not in the slightest bit straight, and there’s a massive gap between the side panel and the door):
So, I’ve now got a server rack that does a reasonable job of managing sound levels, and is definitely sturdy enough that I don’t need to worry about it falling apart! If I was doing it again, I’d probably take a bit more time, build the frame properly and make sure it was all square etc. Or maybe I wouldn’t, this works fine for me and it’s in a cellar, it’s not like anyone else is going to see it. Except for the people reading this. Hmm.
Onwards to part 3: software!