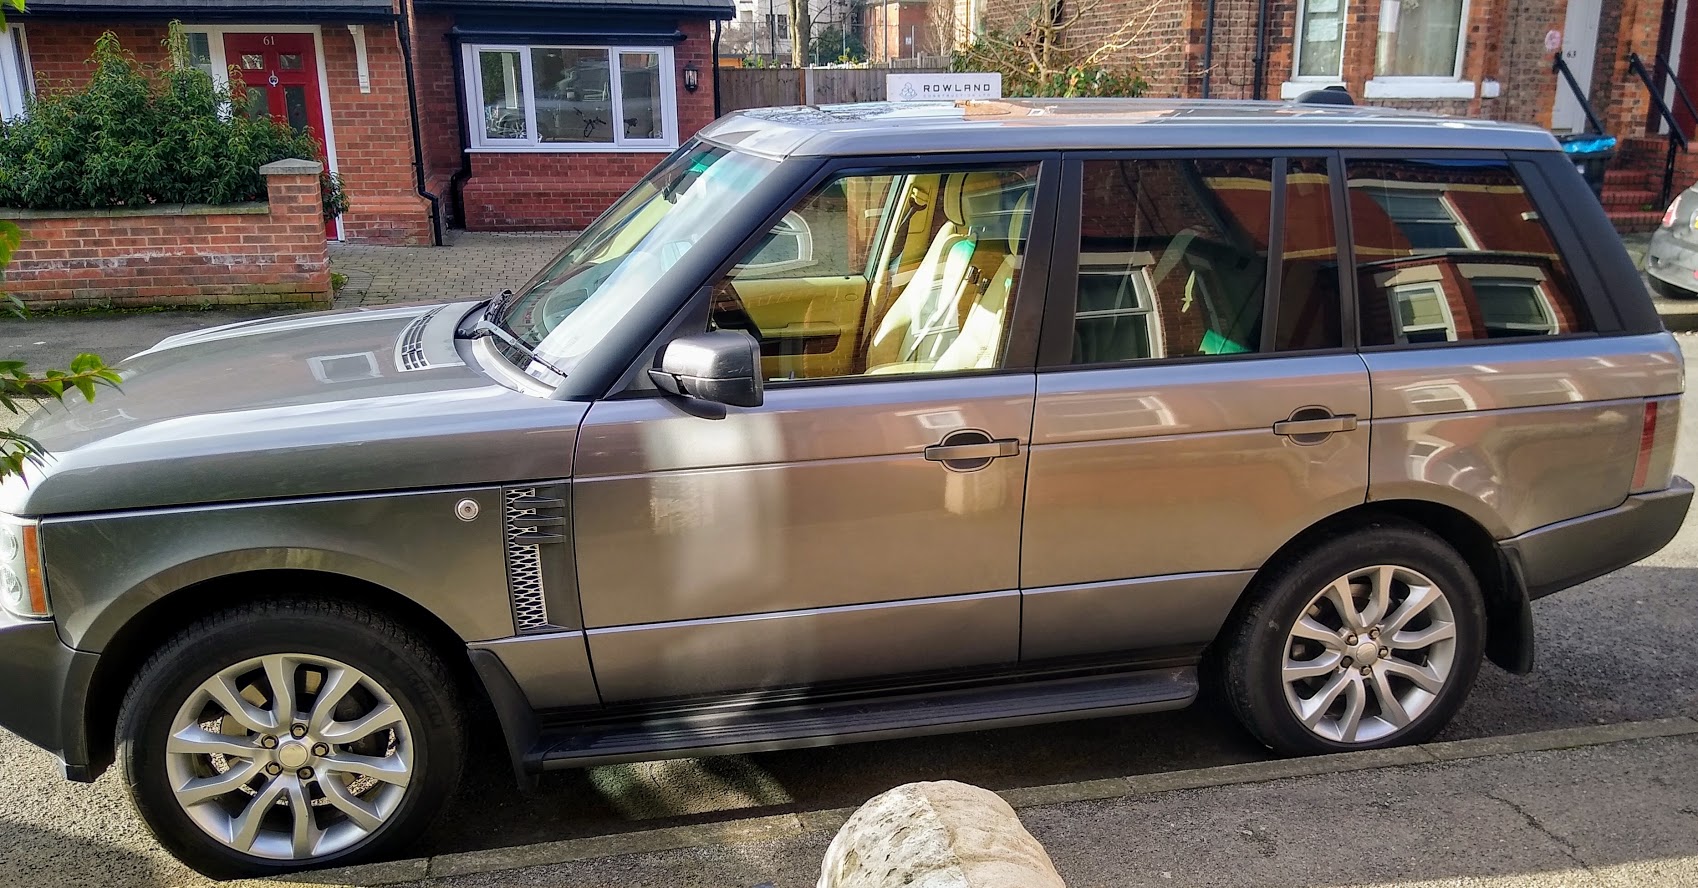
After sinking so much time and effort into ‘pimping’ up my venerable 2001 P38 Range Rover the list of faults on it finally tipped me over the edge from ‘it’s a beautiful car with a few issues’ to “it’s a complete POS on 4 wheels” so I decided to upgrade to…. another Range Rover! A 2007 MK3 (L322) this time

Unfortunately 2007 electronics don’t really cut it these days, despite mine having the upgraded option with sat nav & touch screen like so….

So I decided to see what I could do about it.
For early (2002 to 2005ish) L322 Range Rover’s it’s pretty straight forward, you can get an android head unit and stick it in with very few issues. Unfortunately the later cars use a fancy media bus that is nigh impossible to integrate with, and if you remove the stock head unit you lose access to some of its functionality such as setting the time for the analog clock on the instrument panel, and some of the terrain response options…. so swapping out the head unit was a no-go.
One option I did consider was removing the CD changer, which lives in the glove box, putting the stock head unit in there and putting a swanky new android unit where the stock one was. Sounds good right? However, in typical Land Rover fashion getting the CD changer out requires removing 2 screws. Getting to those 2 screws requires removing most of the dashboard and lots of time, neither of which I was happy about.
So, I needed something that wouldn’t require removal of the existing head unit, but would give me more up to date media (spotify) and navigation (google maps) options. After some fiddling about with Android Auto options on the raspberry pi, I eventually settled on this:

That’s v1, which is a bit chunky but in essence it’s a nexus 9 that I picked up cheap off ebay, in a 3d printed case that slots in down the side of the stock head unit and is held by friction. You can find the files for the case here: There’s a v2 in the works that removes some of the plastic from the sides etc.
Unfortunately, going with a standard android tablet left me with one annoyance…. since the cigarette lighters in my car are only live when the ignition is on, if I didn’t drive over the weekend the tablet was invariably dead when it came to monday morning. I could have just wired a 5v converter in and charged the tablet from the battery…. but Range Rovers have a habit of complaining if the battery voltage drops, so I didn’t want to risk not being able to start the car just to satisfy my desire for music on the go……which lead to this:

Nestled away in my glove box is now a crduely soldered circuit with an arduino (this one in fact) a voltage sensor, a 5v converter and a relay. When the battery voltage drops below a preset level the relay trips off and the 5v converter turns off. This drives the tablet and my wifi access point, so if I ever have to leave the car stood for a while those won’t drain the battery below a certain level. Also, because I’m a mega-nerd, this setup uses an MQTT queue to keep me notified what the current (ha) coltage is in the car. Which is incredibly useful. For reasons.
You can find arduino code and files for 3d Printing the case for that little gizmo here: https://github.com/Tall-Paul/Battery-Controller
My circuit design skills lie at the ‘trial and error’ end of the spectrum, so I don’t have schematics or anything like that for the board itself, but it’s not difficult if you know a little about electronics.
Next piece of the puzzle is to connect to the CAN Bus in the car so that I can use the media controls on the steering wheel to control spotify…. that’s for another post though.
