This is the first in what will become a series of articles on development processes and techniques in use at my current place of work, Public Desire. To start off with I’m going to take a run through our docker based development environment, then in future articles I might dip into our deployment processes and testing. In my usual fashion I’m going to stay away from delving too deeply into the concepts and technical gubbins underlaying Docker and concentrate on the pragmatic business of getting a dev environment up and running. If you’ve wanted to give docker a try, but found it a little intimidating give this a shot….

The development environment at PD is currently based on Vagrant (well, a vagrant wrapper called hem ) which works pretty well, but definitely has some issues:
- Build / tear down takes ages
- The environment is undocumented, and wasn’t setup by any of the current team
- The build is throwing more and more ‘deprecated’ warnings
- Since we moved to PHP7 in production, it no longer reflects our production environment
Those last 3 items could be resolved by a lengthy period of taking the environment apart, documenting it, and putting it back together again whilst making incremental changes to fix those deprecated warnings and update PHP etc. However, that’s boring and doesn’t give the dev team any opportunity to play with anything new…and I’m always of the opinion that you should grab any opportunity to play with something new. So, lets migrate our environment to docker.
First off, I’m using a mac and, during my last foray into the world of docker some 12 months ago setting up and using docker on OSX was a pain. You had to proxy everything through a linux VM, the dividing line between docker and your native environment was very obvious and in general it just felt like a very ‘beta’ version. Now however things have changed, with the latest releases of docker you get a nicely integrated setup that ‘just works’ and gets you up and running very quickly.
In this first article we’ll download and install docker, launch the ‘hello world’ container and then look at some helpful features in kitematic. In future articles we’ll move onto creating our own docker images, building custom functionality into our containers and finally building multi container systems using docker compose.
So, to get started lets download and install docker from docker.com. You probably want the stable version unless you’re feeling particularly adventurous. The install is a pretty straightforward, standard OSX installer, just run through it as per usual.
Once that’s done (and really, how easy was that?) we’re ready to enter the exciting world of containers!
First of all, you’ll notice the cute little docker icon in your menu bar, which gives you this drop down when you click on it:
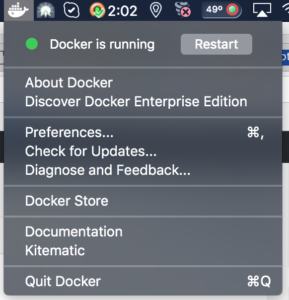
There’s a few items on there that might be of interest, checking for updates etc but the one we’re going to take a look at first is the ‘kitematic’ one, so give that a click.
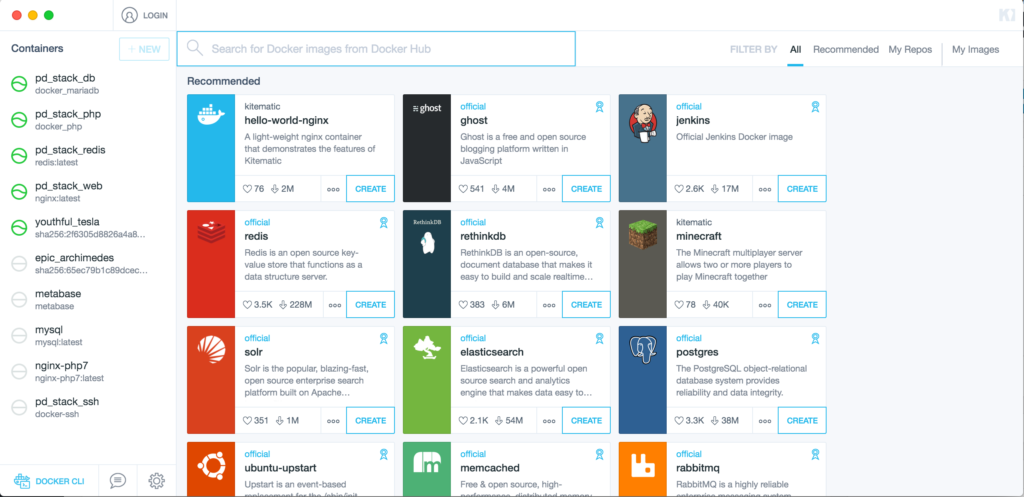
That should launch a kitematic screen, similar to the one above. Yours won’t have any containers listed on the left since we haven’t created any yet obviously, so let’s change that now and create a quick test container to make sure our docker setup is working correctly.
On the right you should have some recommended containers, and one of those should be the ‘hello-world-nginx’ container. Click the ‘Create’ button on that container and kitematic should run through ‘connecting to docker hub’ then ‘downloading image’ and finally drop you into something that looks like this:
So, what just happened?
Well, through kitematic we instructed docker to create a new container using the ‘hello-world-nginx’ docker file (you can inspect the file here ) if you’re interested That file contains instructions on what image to use for our container, and what to do when the container starts… we’ll look into this more once we start building our own images, but for now lets see what else we can figure out about this container. First of all we need to know how to connect to it, and then we could do with knowing how to change the files that the web server in this container is serving.
So, how to connect to the web server? Well, each container running in docker has the option of exposing ports to the host operating system (ie: you) but clearly you can’t have 10 different web containers trying to use Port 80 at the same time, so the underlying docket networking stack allows you to use NAT to map ports on the host machine to ports in the container. Simply, this means we can fire up a container that expects a connection on port 80, and it will actually appear on our system on port 35291 or ‘some other random port’. When you create a docker file (again, we’ll look at this later) you have the option of manually mapping these ports, or having docker assign random ports for you. In this case we’ve let docker pick the port. Handily, Kitematic can show us what port we’re using from the ‘settings’->’ports’ tab:
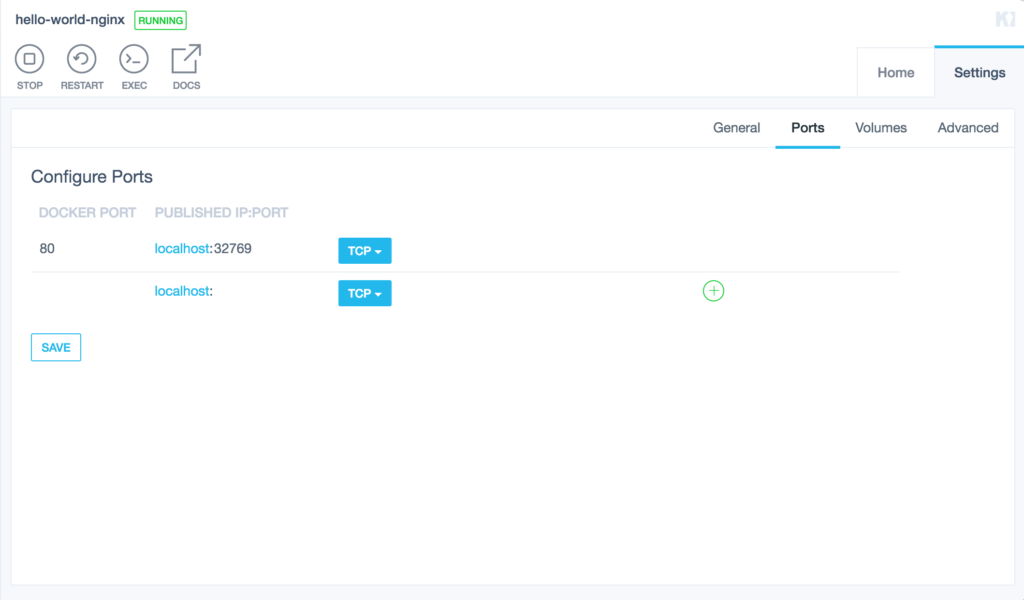
So, we should be able to connect on the given port….
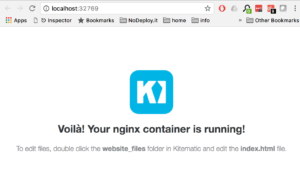
Voila indeed! This is pretty simple stuff on the face of it, but under the hood we’ve just launched a complete NGINX container with the click of a mouse. To make this example more useful of course, we need to be able to edit the files that NGINX is serving. Luckily, Kitematic makes this incredibly easy as well. When it comes to shared folders (or volumes in docker parlance) the situation is pretty similar to ports. We can define exactly where we want to access those volumes on our local machine, or we can let docker handle it. For the hello world example, the volume is just shared wherever docker defaults to putting shared volumes but again kitematic gives us an easy way to find this, on the ‘home’ tab of our container we can click the ‘website_files’ volume, which should take us to here:
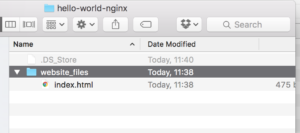
Lets edit that index.html to something different…..

And then refresh our browser:
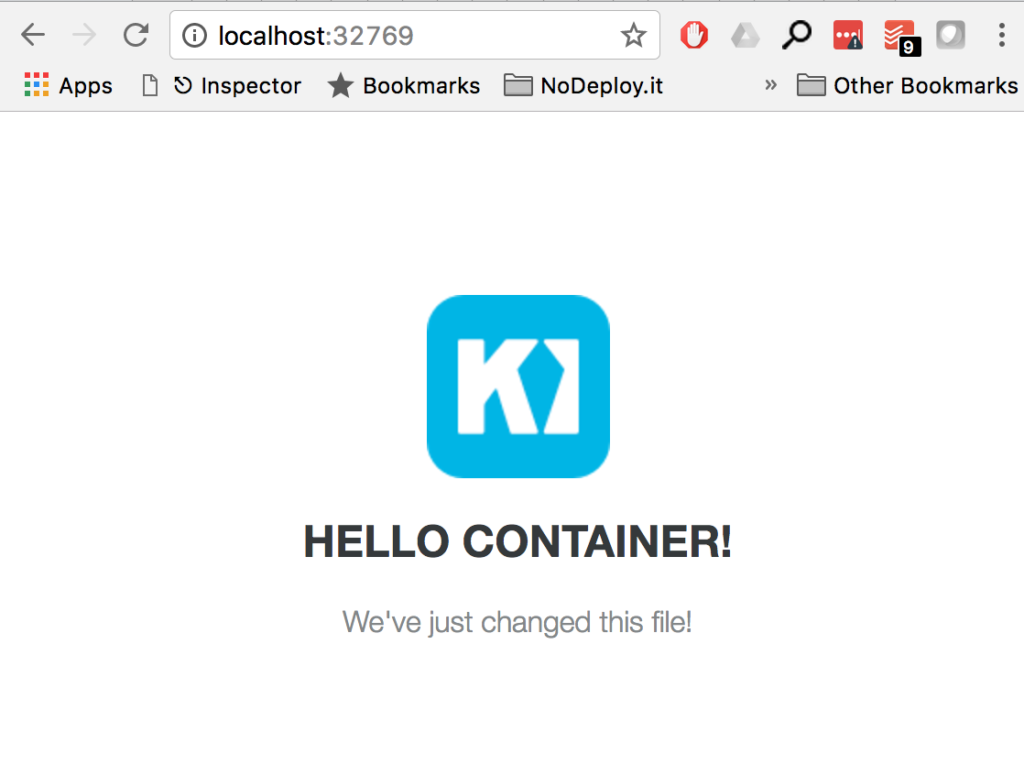
And there we have it, our changes are reflected in the page served by the container (as you’d expect). Again, this seems like very simple stuff, but remember that under the hood we’re running a full linux container there, isolated from the rest of our system but one that we can still interact with in a useful way. If you’re in the business of writing static HTML pages (I know, not very likely in the last couple of decades) then this is pretty much all you need for a useful dev environment…an Nginx server that you can setup and launch with no config issues or messing about with conf files. You can run as many containers as you want (one per project?) and just point them at your project files.
For real scenarios though, you’re probably going to want something a bit more complicated. PHP? Redis? Mysql? Containers for all of these are available, and in later articles we’ll look at tying them together into a decent approximation of a production environment.